


Initial setup for OneStream Developer Studio
Hello OneStreamers,
The purpose of this note is to share my end-user experience getting the new Developer Studio installed and configured. I hope it helps you.
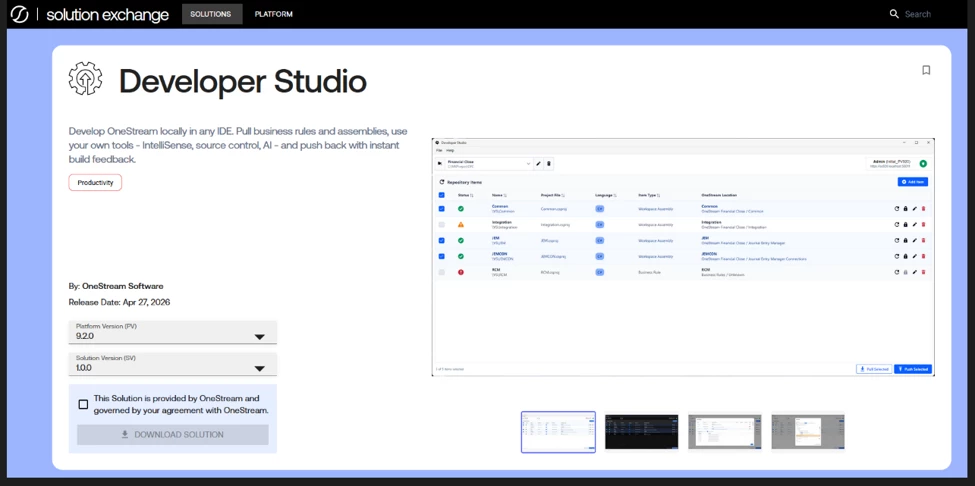
What is Developer Studio? This is a new tool to move code between your local file system and OneStream.
Initial Setup
- Download Developer Studio from Solution Exchange - OneStream Software
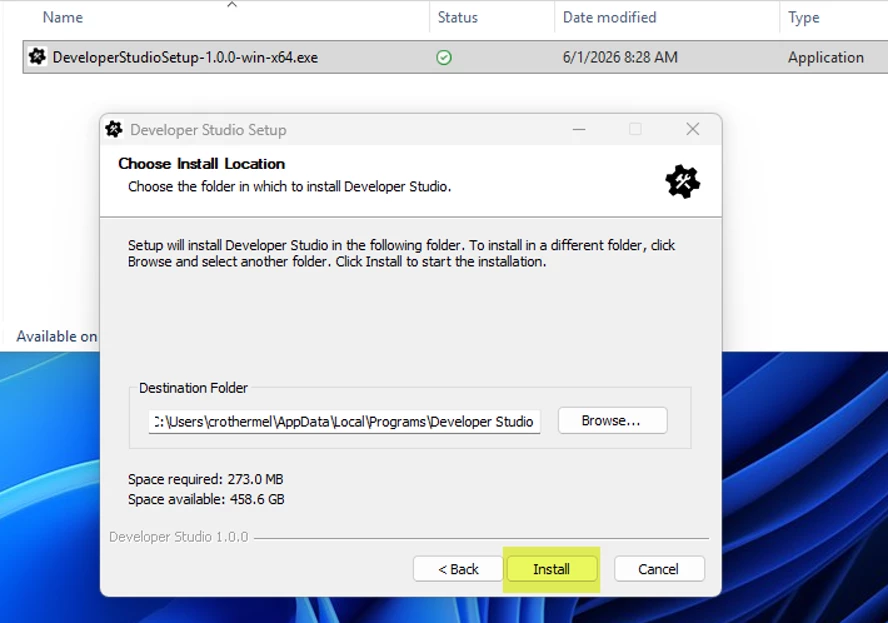
- Install Developer Studio by running the executable
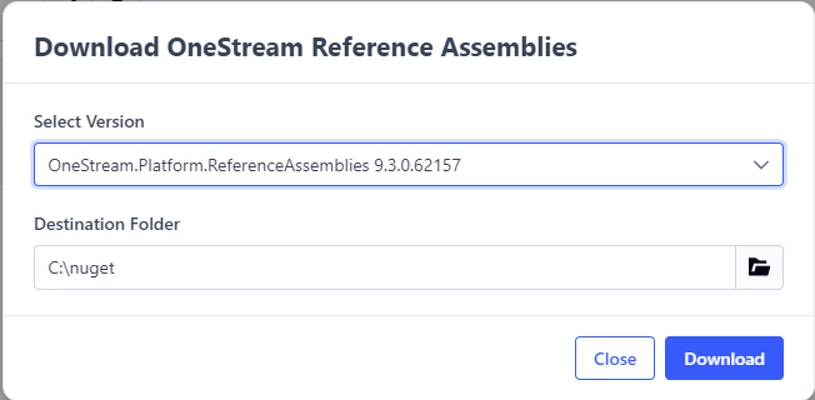
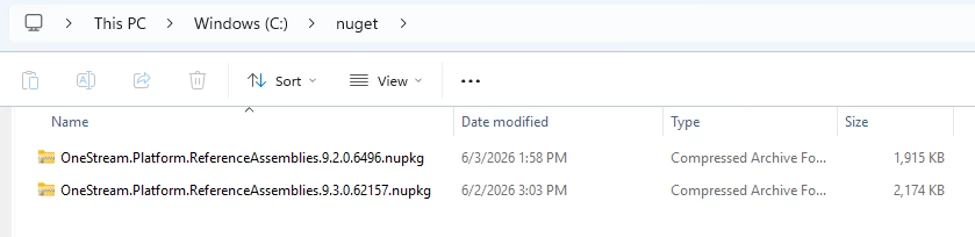
- Launch Developer Studio and select File / Download OneStream Reference Assemblies… and store both versions them in a common directory such as c:\nuget
- Register Sources
- At the command prompt run this command
- dotnet nuget add source c:\nuget --name LocalRepo
- Confirm the source has been added by running the command
- dotnet nuget list source
- At the command prompt run this command
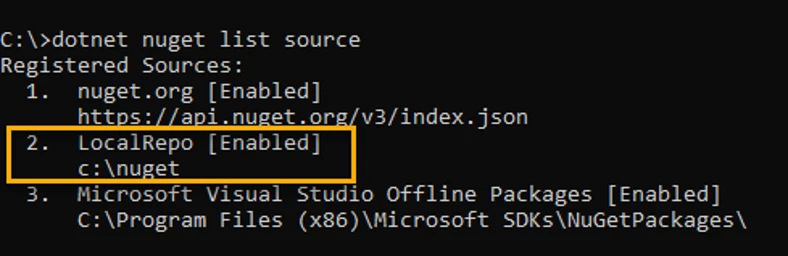
This directory should be the same one that has the reference assemblies downloaded in the previous step. It can be anything, but in this example it is “c:\nuget.”
Congratulations! You have installed Developer Studio and configured your local machine to use the OneStream Reference Assemblies. This is the initial setup. The “dotnet nuget” commands are also at the end of the current Developer Studio Guide and since they were new and a little troublesome for me. Hopefully this helps someone get the initial installation completed.
For more information on the these commands see the Microsoft documentation: https://learn.microsoft.com/en-us/nuget/consume-packages/install-use-packages-dotnet-cli